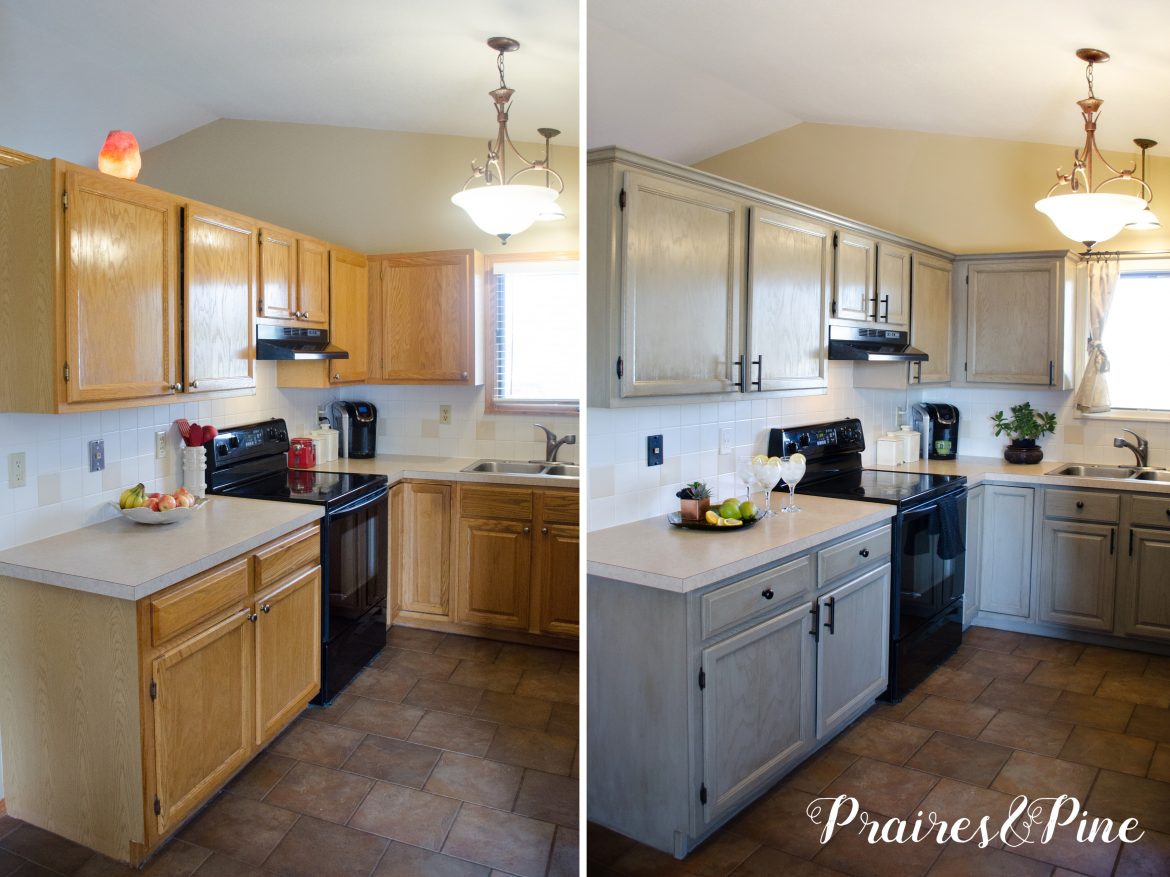
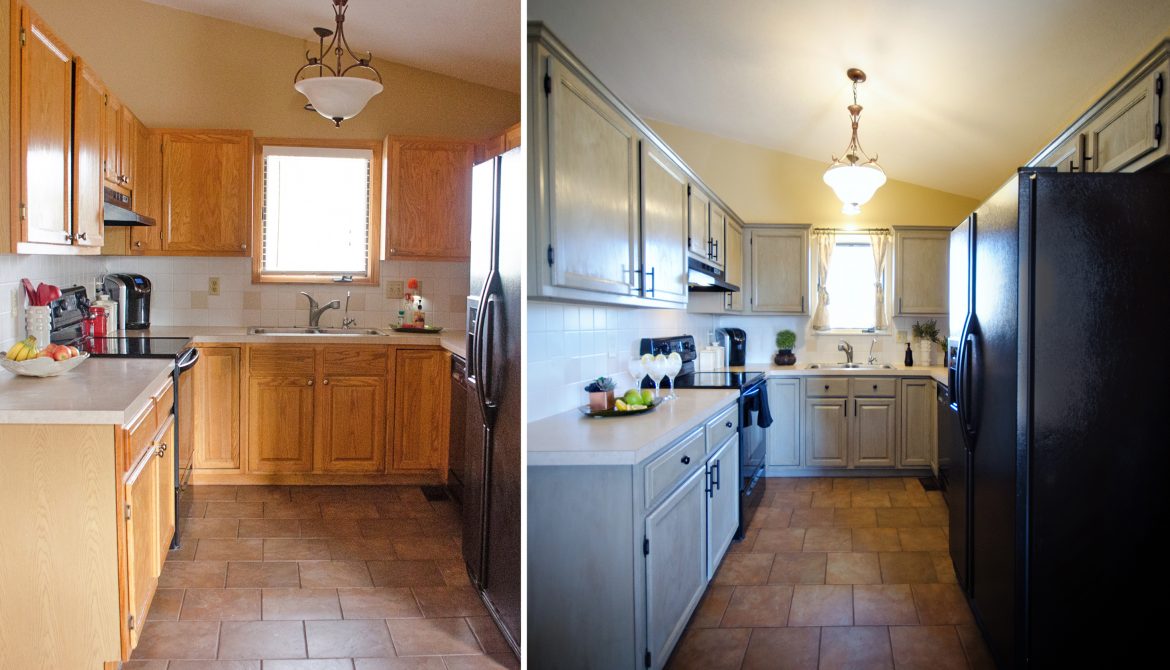
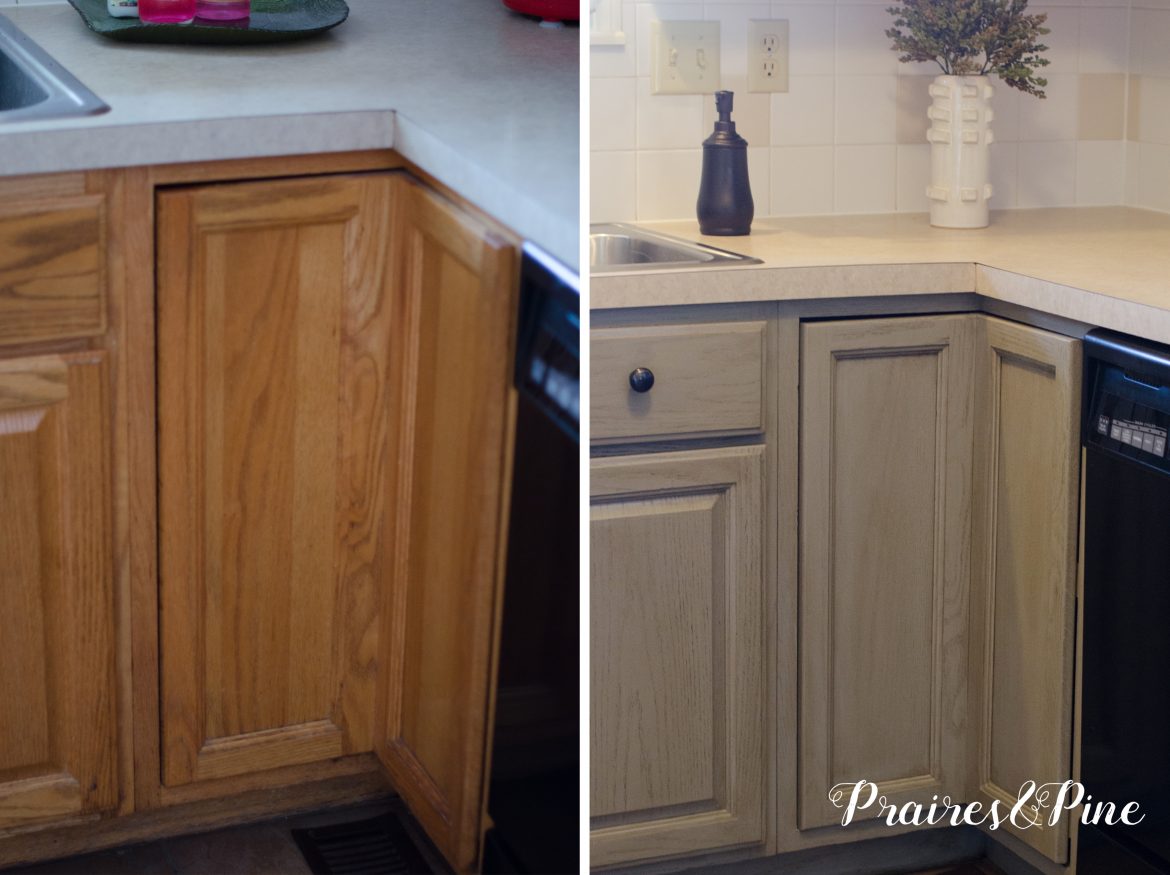
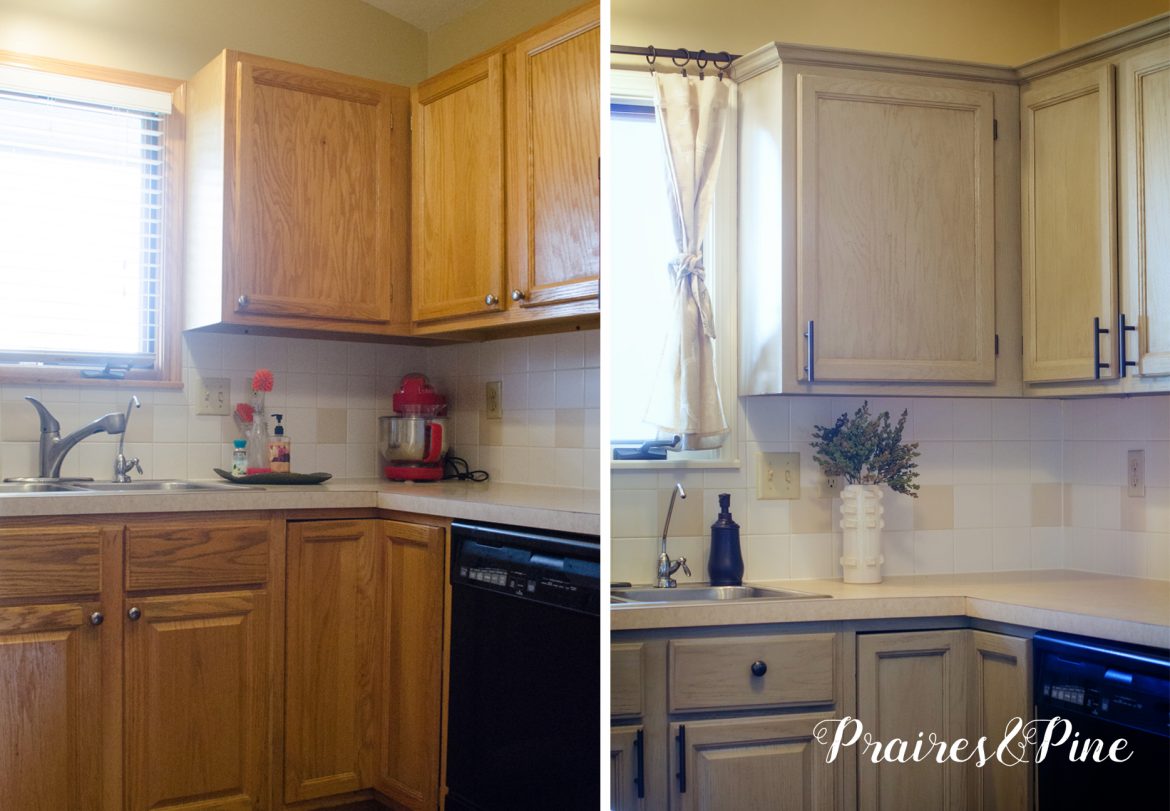
 There she was. My kitchen, in all her 1990’s golden oak glory. Waking up to orange hued cabinets was starting to get as old as the peeling finish of my galley style cookhouse. Something had to be done, but the thought of fitting a DIY kitchen overhaul into the midst of our hectic life was daunting. After a few of months of stalking Pinterest and binge watching Fixer Upper, I could no longer suppress the urge to start THE OVERHAUL. My husband and I spent hours pouring over gorgeous internet kitchens in hopes that the perfect color scheme would come to us. It was agonizing. As much as I hated the current cabinet situation, I was appalled at the idea of making it worse. After a few painful weeks of research, we decided to paint the cabinets gray, and include a antique glazing technique to polish the look.
Being on a shoestring reno budget caused me to explore some serious money saving options. The penny pinching began by using an gallon of grey paint that had been sitting in our garage for a couple of years. It was extremely high quality exterior paint left over from our last project. We removed one of the kitchen cabinet doors and experimented with the color on the back. We loved the result and decided to dive into the project. Instead of removing all the cabinet doors in the whole kitchen, we tackled the project in sections of 4 to 6 doors and drawers at a time. This allowed us to have full use of our kitchen during the painting process.
The project began with removing all the doors, hinges and hardware, followed by scrubbing the wood down to clear away years of grease and grime. Next, I used a deglossing product to remove the top layer of varnish and make the paint adhere to the wood. I sanded the cabinets to further ensure we would not be seeing any chipping paint in our near future. My arms were totally frazzled from all that scrubbing, deglossing, and sanding. However, I was greatly encouraged by my Apple Watch which told me I was tripling my daily calorie burn goal. This development meant I could eat as much chocolate as I wanted…dream come true.


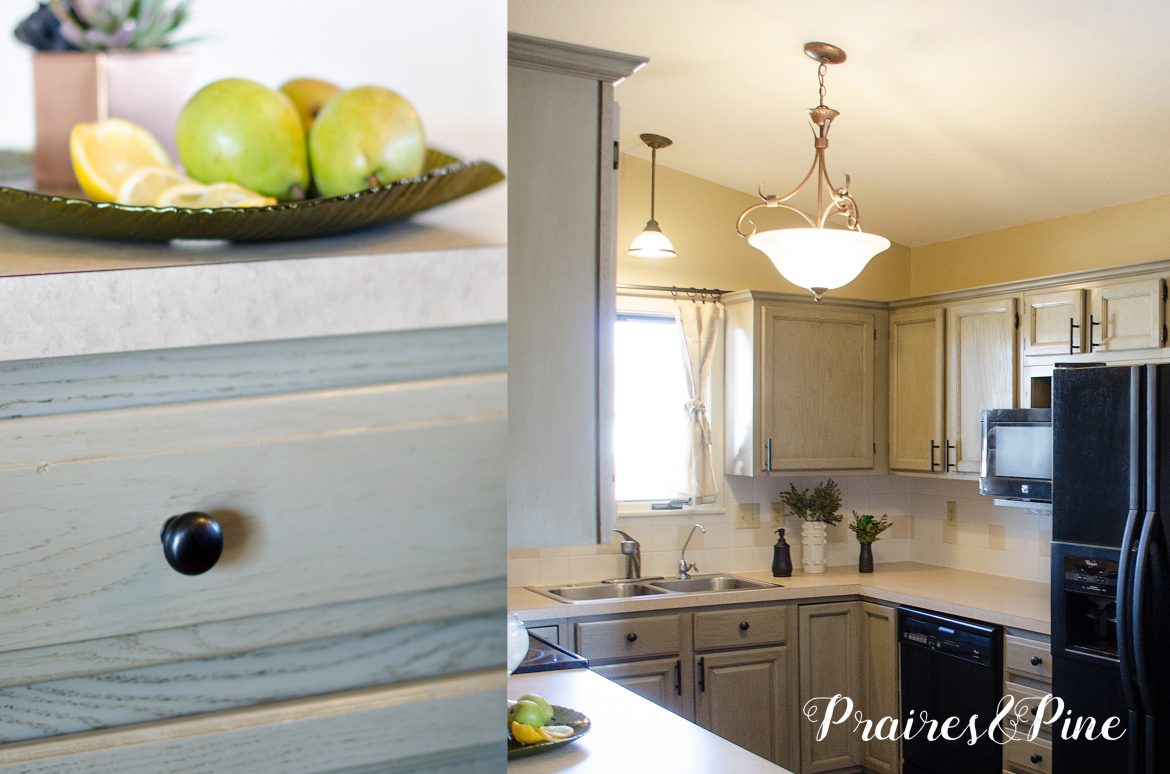
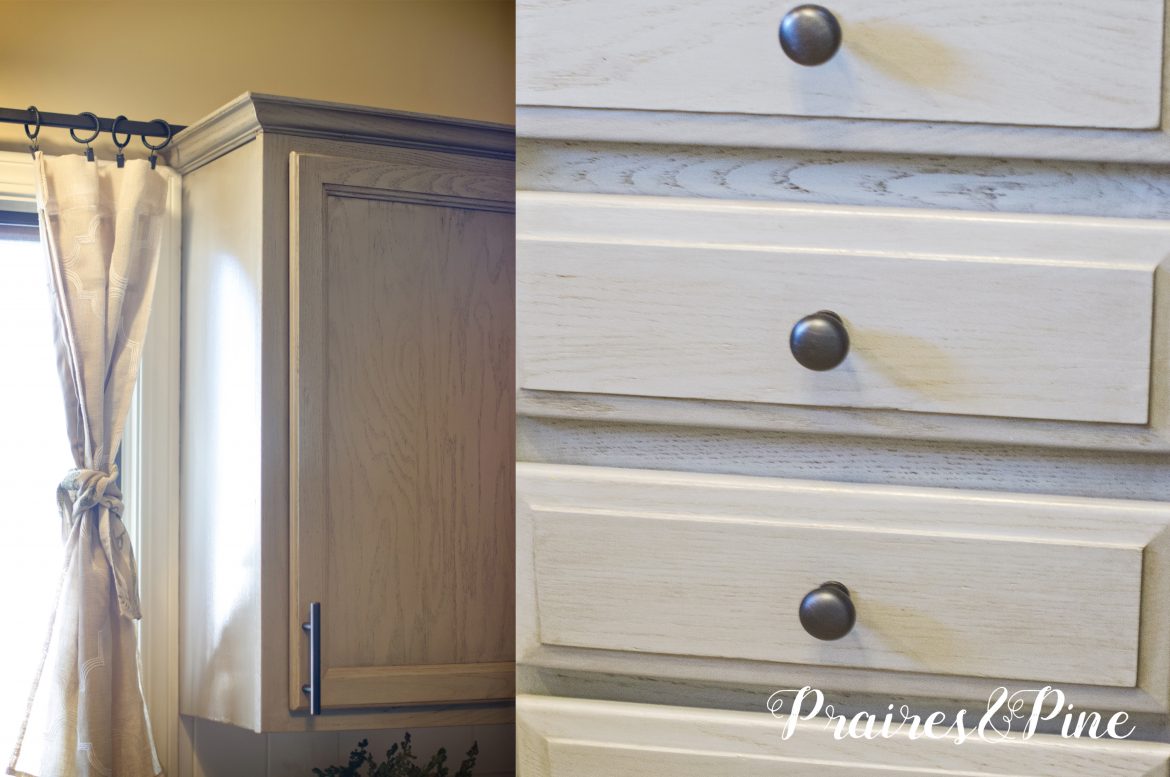
Once the cabinets were clean, deglossed, and sanded, they were ready for paint. I found that adding a little water to the paint made it go on smoothly without brush strokes, and also left a beautiful wood grain texture to the cabinets. After two coats of paint the wood was ready for the glazing step.

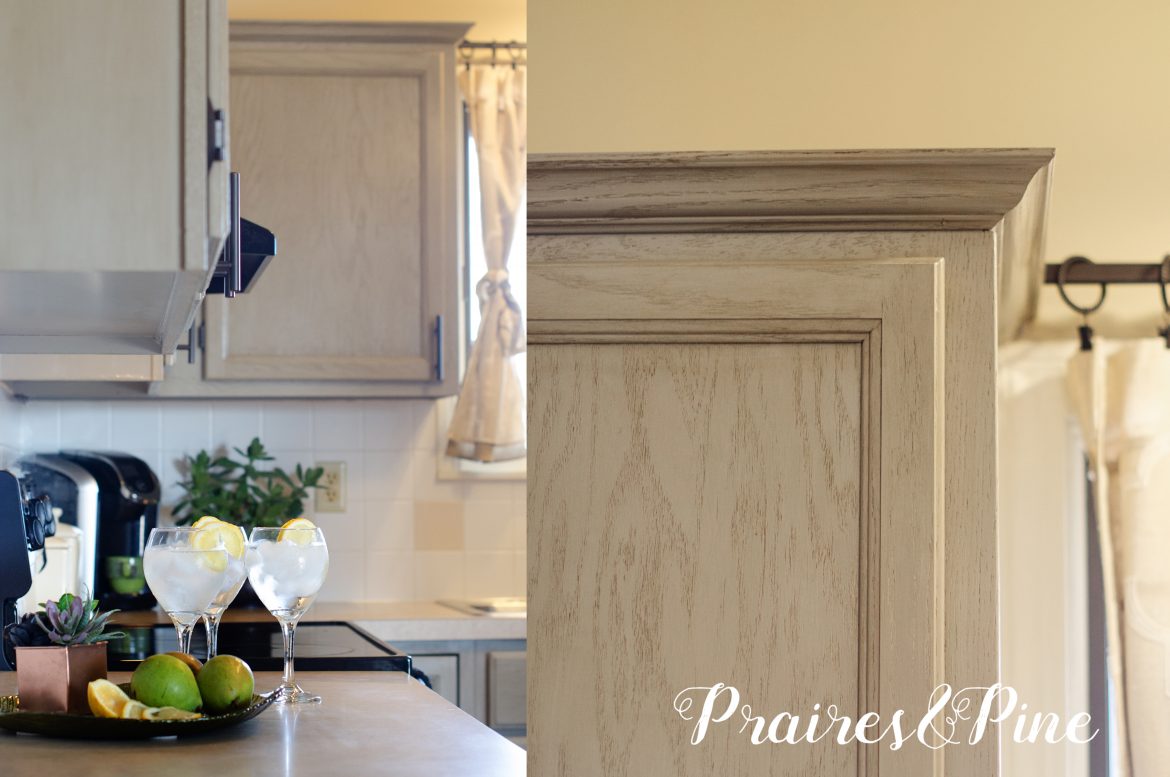
I Painted the glaze on with brush strokes going against the wood grain. I then wiped the glaze off with a large rag, only letting the glaze highlight the wood grain. After the glaze dried, the cabinets required two coats of Polyurethane for protection.
I cleaned and spray painted the cabinet hinges, and they came out beautifully. I used oil rubbed bronze metallic spray paint. This step was a huge money saver.


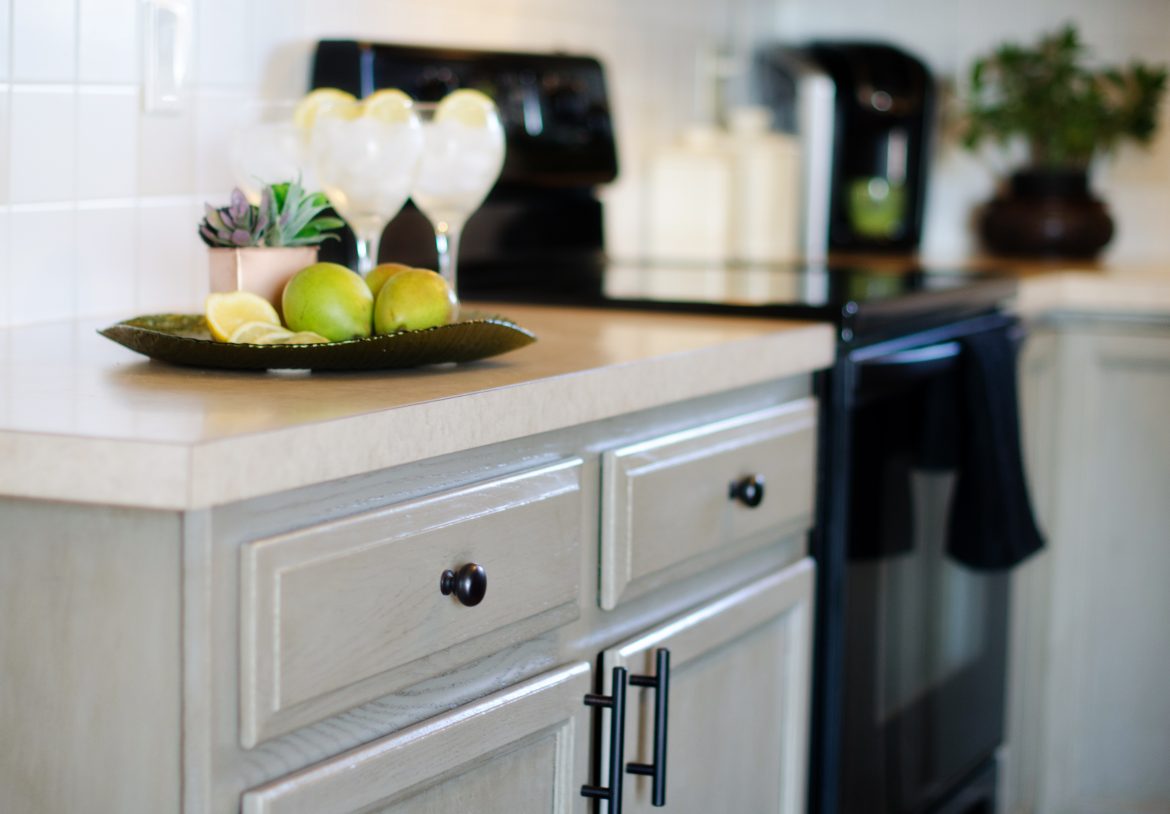
We found some modern looking oil rubbed bronze cabinet hardware on clearance at Menards for $1 per piece. My husband reattached all the hinges, hung the cabinets, and installed the new hardware.

The last step in our OVER HAUL journey was to furnish crown molding to the top of the cabinets. We couldn’t believe the huge impact of this $100 investment.

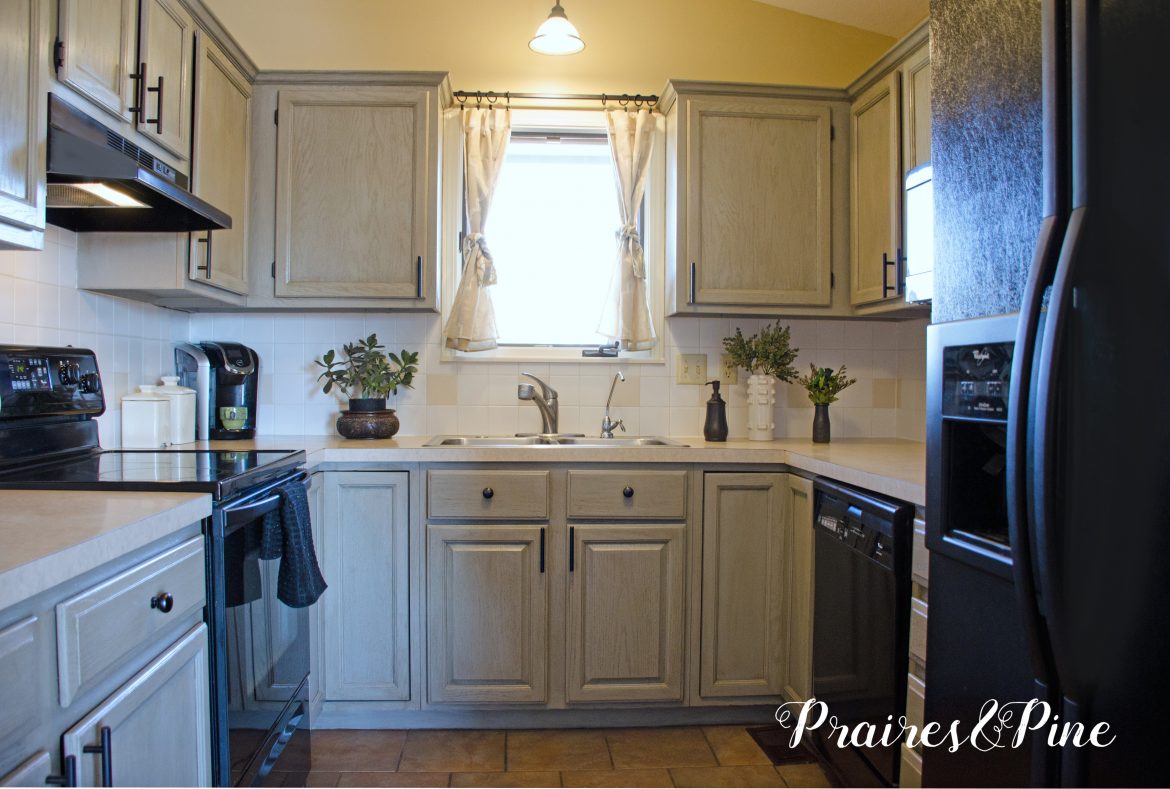
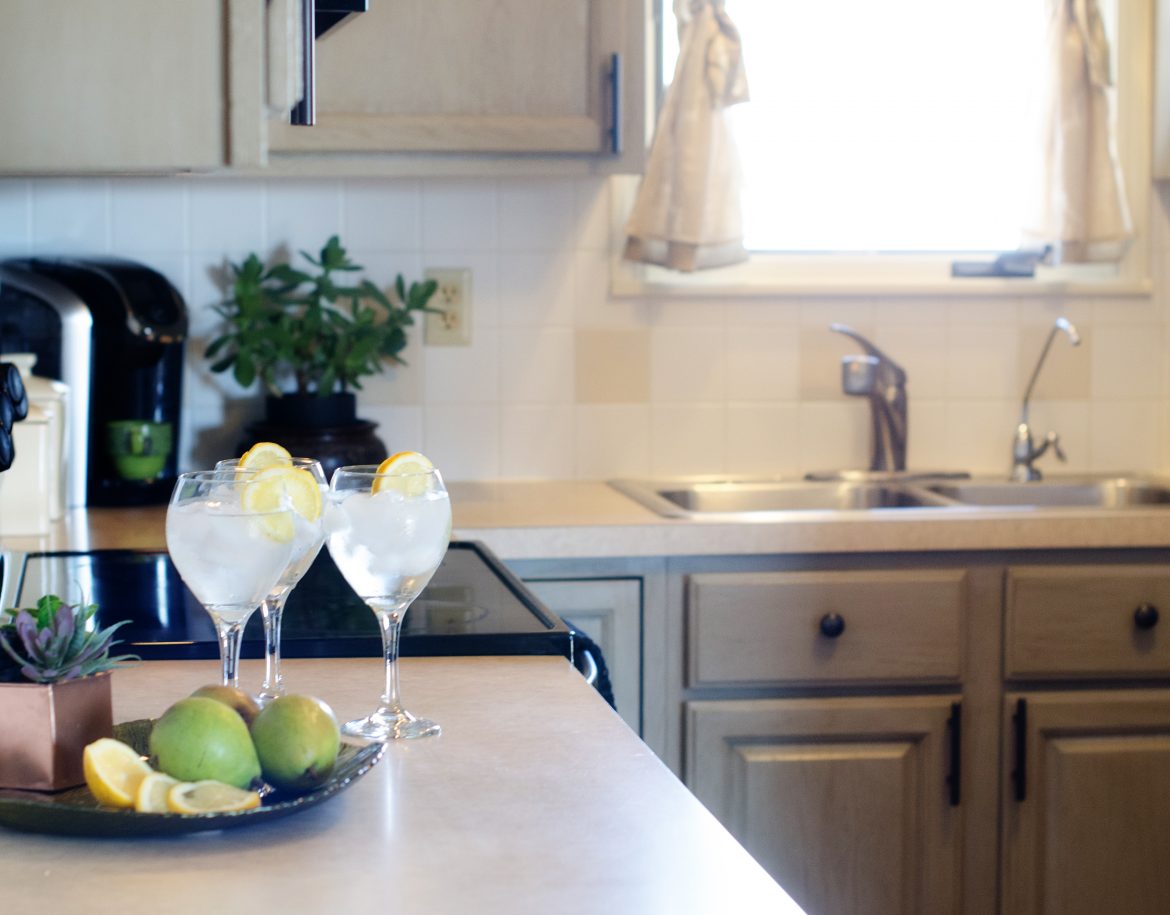
And just like that, and THE OVER HAUL was complete. The Results were mind blowing. I couldn’t believe that
some (o.k. a LOT) of elbow grease and $200 had given me a kitchen that made my heart sing with joy.

The $200 Kitchen Overhaul Budget Break Down:
2 Bottles Deglosser to Strip Cabinets : $14
Sand Paper: $5
1 Gallon of Left Over Latex Paint for Base Coat: Free
1 Can of Decorative Brown Glaze to accent the wood grain of the cabinets: $14
1 Can of Satin Water Based Polyurethane for Top Coat and Protective Finish: $14
1 Can of Oil Rubbed Bronze Spray Paint For Hinges: $7
New Cabinet Hardware on Clearance at Menards: $30
Crown Molding Materials and Installation: $100
New Curtain & Other Accents: $16
Time Invested: Longer than Jane Austin’s Audio Rendition of Emma…About Two Crazy Weeks….Worth every second!



2 comments
I am inspired!
Pinning this: #1 because I love it, #2 because more people need to see it 🙂