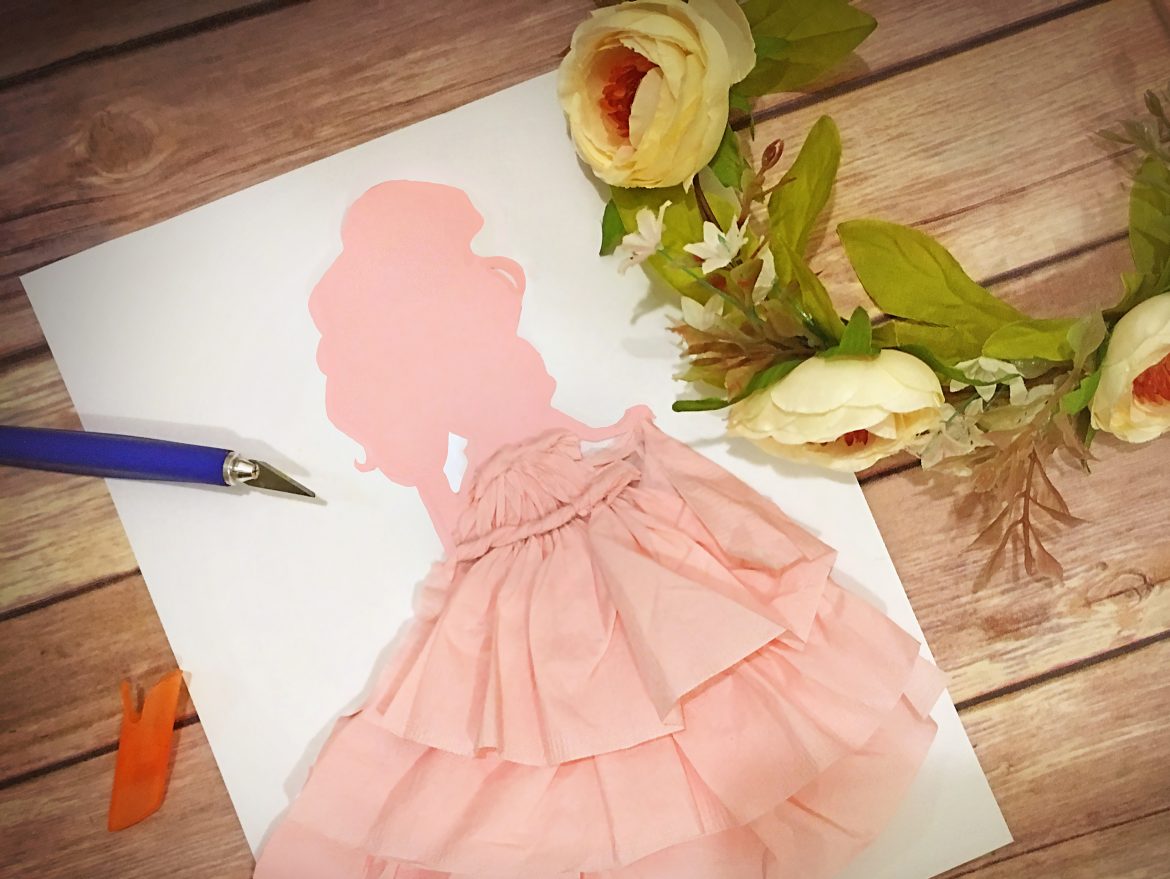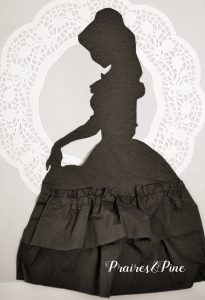
I stumbled upon a technique to create these fun 3-D princess silhouettes when I was planning for the Belle Bash. I used paper napkins to create the Belle Silhouettes pictured above. For this tutorial I used pink card stock for the upper body, and napkins for the dress ruffles. I decided that card stock would be easier to work with for the fine features of a princess silhouette.
Materials you Will Need:
- Two Large Square Napkins ( I used Dollar Tree napkins)
- One Piece of Card Stock Matching your napkin Color
- One Piece of Card Stock to mount your princess on
- A Craft Detail Knife
- Scissors
- Threaded Sewing Machine (Don’t freak out that sewing is involved, I promise it is a very short step)
- Hot Glue Gun and Glue Sticks
How to Create Your own 3-D Princess Silhouette
1.) Search for a “princess silhouette graphic” that you love online. The one I used for this tutorial is available on Etsy.
2.) Print out your silhouette to fill a letter sized piece of paper. Cut out the paper silhouette.
3.) Use the printed cut out as a guide to cut the princess silhouette shape out of card stock. Take your time with this step and use a sharp detail knife on a cutting board.
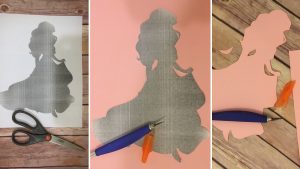
4.) Cut your napkin into three equal strips.
5.) Using a long stitch sew a straight line about one inch below the top of each napkin strip. Do not back stitch, and leave enough thread at the end of your stitched line for you to pull on.
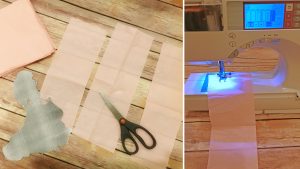
6.) Pull on one end of your thread to create ruffles in the napkin. Make sure that the other end of the thread does not get pulled out during this step. Each strip should be ruffled using this technique.
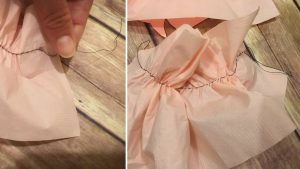
7.) Glue your ruffles on starting with the bottom and working your way up to the waist line. Stretch out the ruffles of your napkin to fit the width of your dress. When you get to the waist line ruffle, you may need to pull your thread even more to make the ruffle fit the waist line.
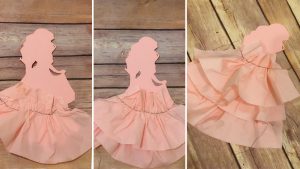
8.) Cut two 5 x 2 inch strips out of your second napkin. Twist the strips until they look like a rope. Glue one napkin strip over your stitches and use the second strip to cover the top of your ruffles at the waist line. Trim any excess rope.
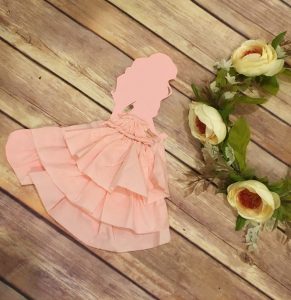
9.) Glue your completed princess silhouette onto the second piece of card stock and prop it up on a counter. Stand back a few feet and ooooo and ahhh over your handiwork.
10.) Use these pretties to decorate your next little girls party, or to create wall art for your resident princess.


