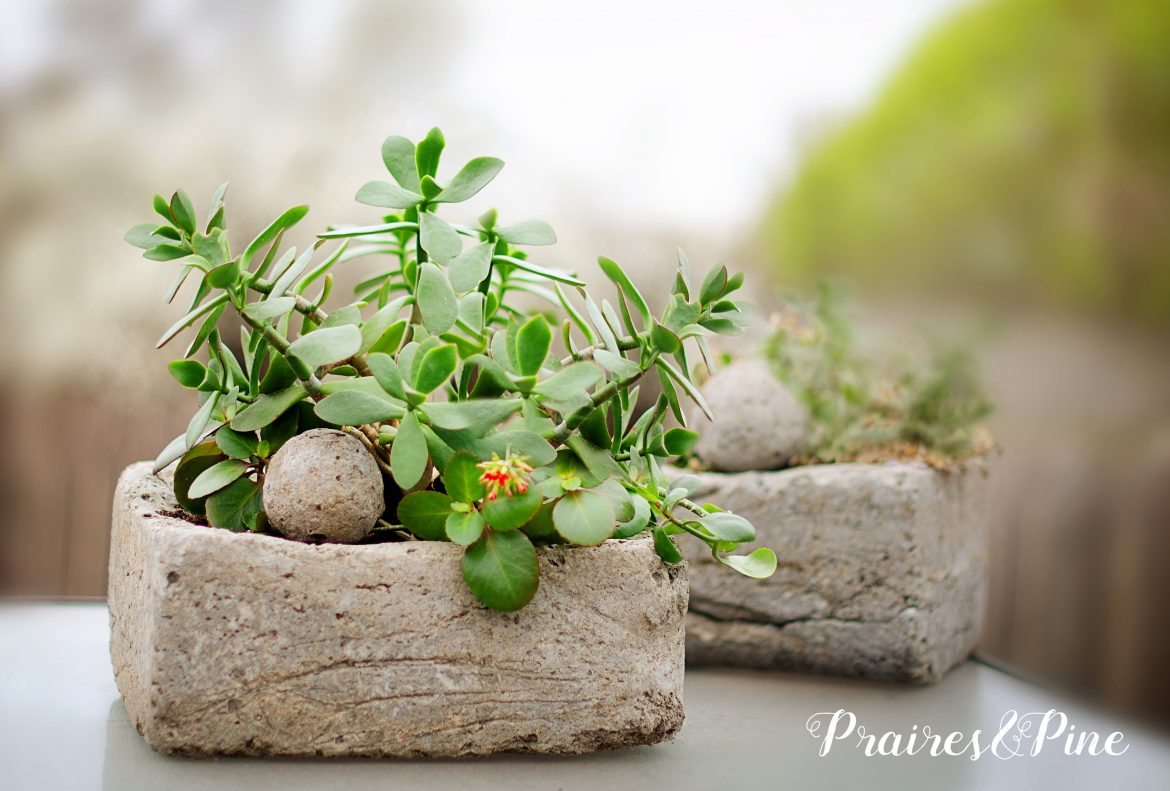
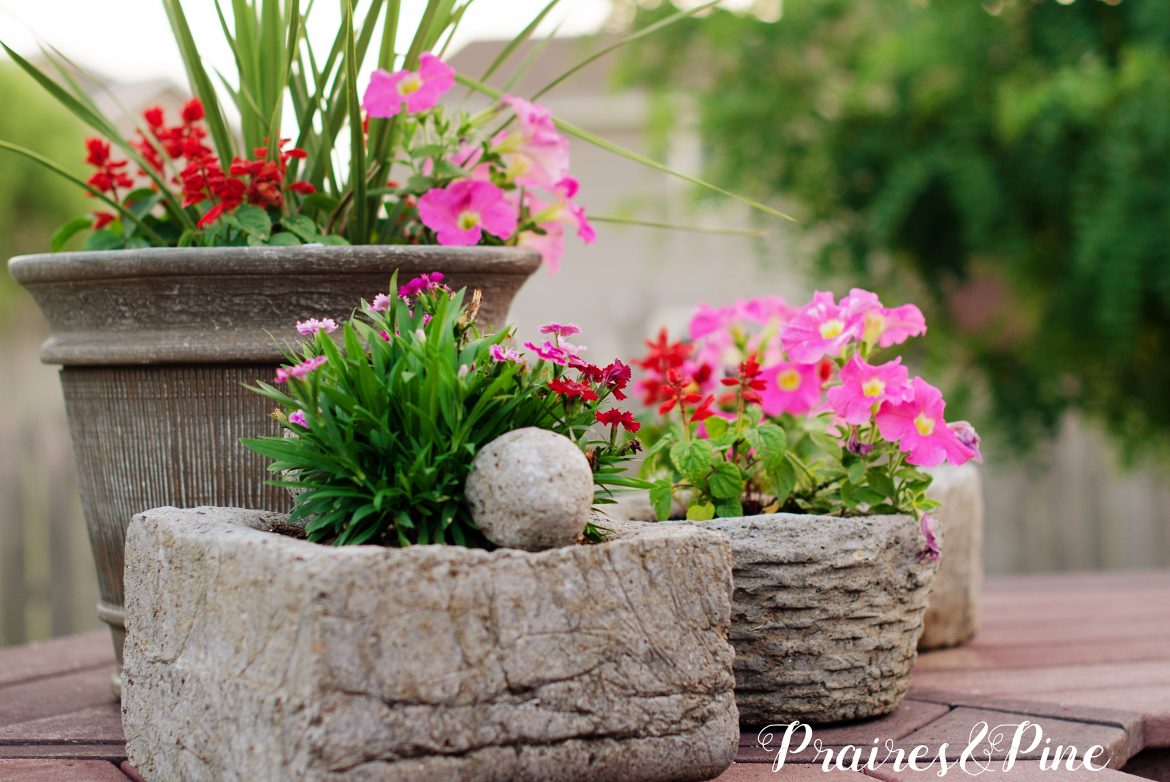
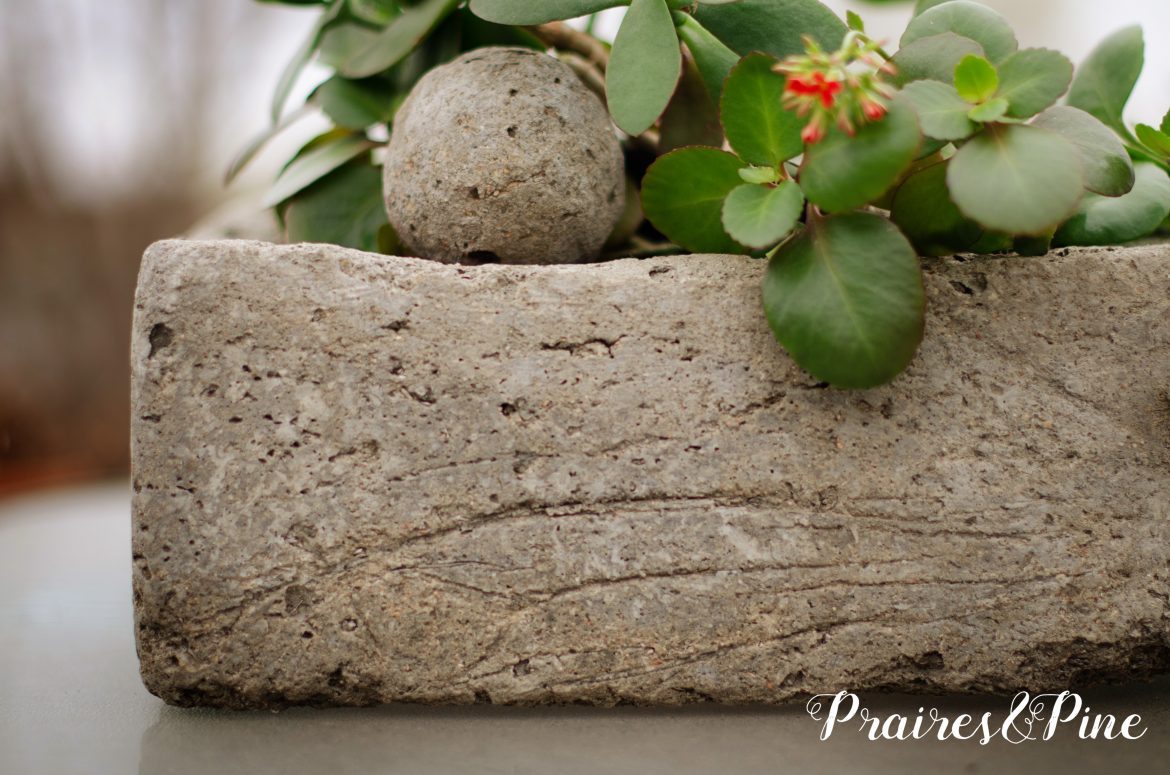
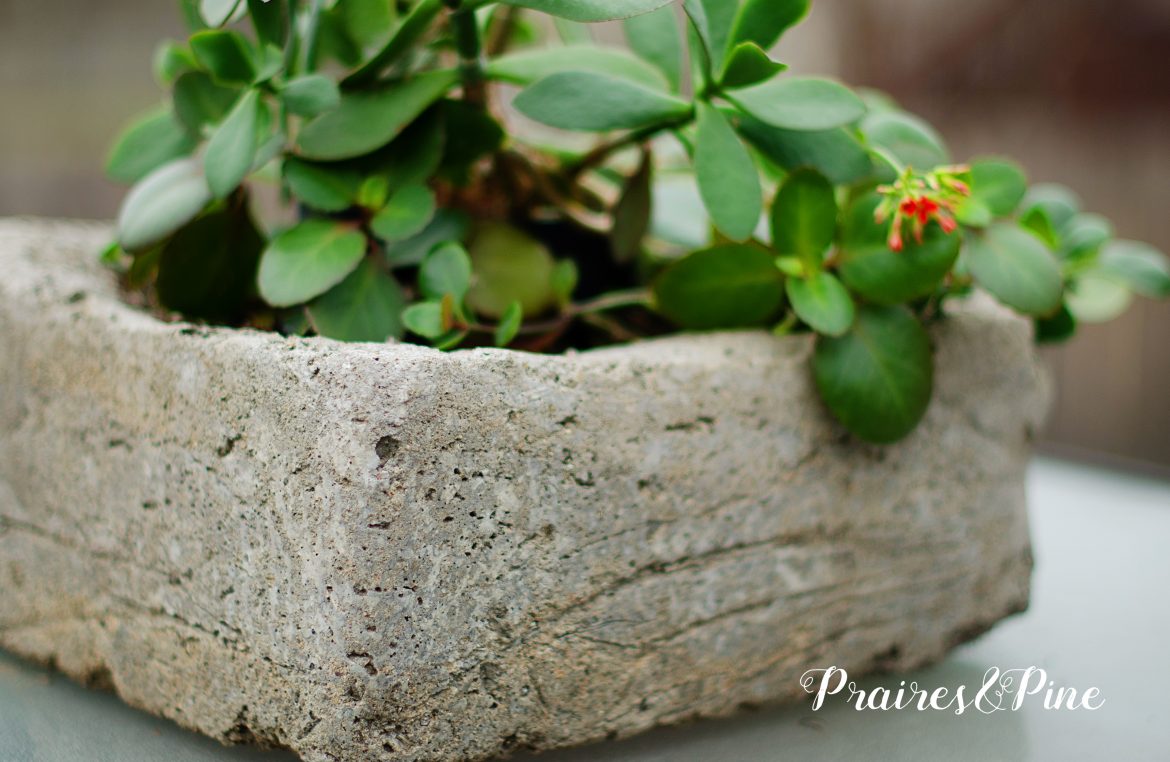
I first fell in love with home made cement planters while browsing through a Martha Stewart magazine. The official name for these rock like containers is HYPERTUFA. You can create all types of shapes using this method. The cement mix takes on the shape of what ever container you use as a mold. For my pots I used square cardboard boxes, an old plastic planter, and a round basket.
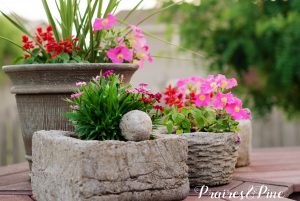
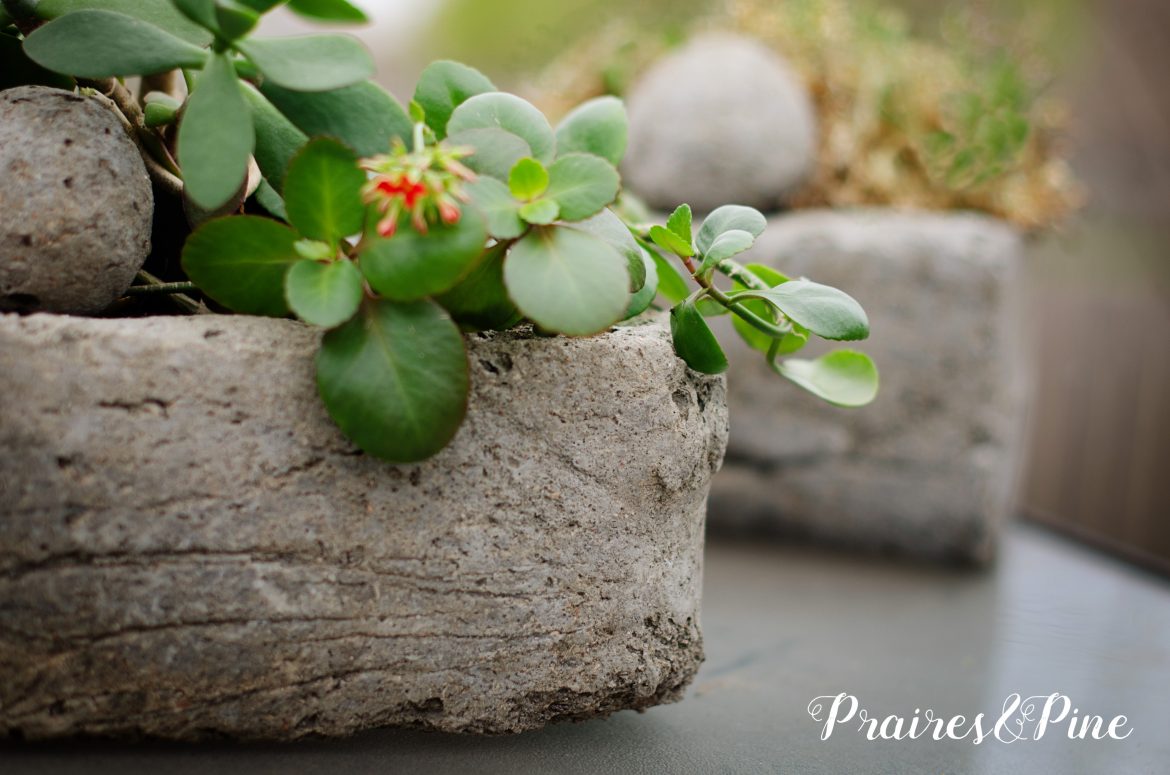
I lined the inside of my containers to be used as molds with plastic bags. This helped the cement not to stick to the sides of the molds, and it added lines and crevices to the outside surface of the finished pots. This textured look added a beautiful aged character to my pots.
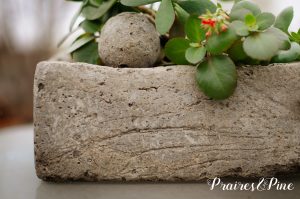
The internet is full of Hypertufa recipe variations, but the one I decided to use was cheaper because it eliminated the costly perlite that is usually added to these planters. The sand used in this recipe does make the recipe heavier, but it also creates really strong pots that will last a long time. My pots are over four years old and are still in perfect condition. This recipe is only good for smaller projects, if you are making a really large planter you will want to try using a lighter recipe.
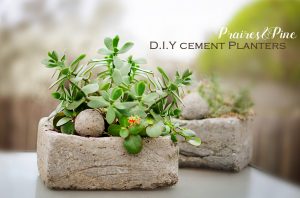
Cement Planter Recipe
- 2 Parts Peat Moss
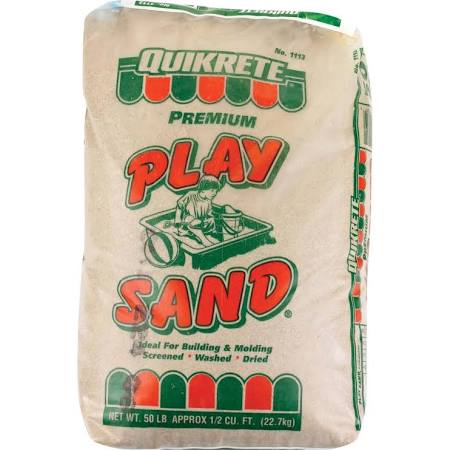
- 1 Part Play Sand
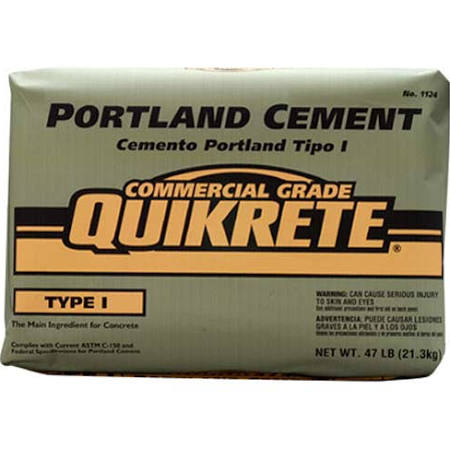
- 1 Part Portland Cement
- 1 Part Water
D.I.Y Cement Planter Instructions
1.) Prepare your containers that you would like to use as molds. Cover them in plastic and tape down loose edges. I used garbage bags for this step. You can also use nonstick cooking spray instead of plastic.
2.)Wear Gloves and a Mask.
3.) Measure out 2 parts peat moss, 1 part sand and 1 part portland cement into a large container. I suggest using a storage tote or large plastic container to mix your ingredients. Using a small shovel, mix the dry ingredients until evenly distributed.
4.) Make sure there are no large chunks in your mix. Slowly add 1 part water to the dry ingredients and mix around with your hands. Avoid making your mix too wet. The consistency should be similar to cookie dough. You should be able to squeeze a couple of drips of water out of your mixture.
5.) Press handfuls of the mixture into an even layer in the bottom of your plastic lined container. The base of your pot should be around 1.5 to 2 inches thick. Use your finger to poke some drainage holes in the bottom layer of your pot.
6.) Your pot will turn out better if you have a shape to work around in the middle of your mold container. I placed a small square box on top of the base layer of concrete mix as a guide to form the walls of my pot. (Pictured Below) The inside box should also be covered with plastic.
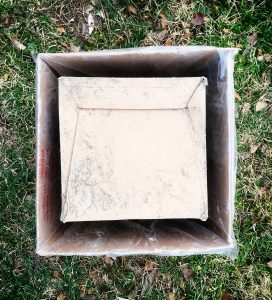
7.) Pack the mix into the sides of your box to form the walls. Make sure you press the mixture down firmly to avoid cracks and air bubbles. The walls of your pot should be at least 1 inch thick. Smooth out any bumps and lumps in the top of your container. Tap the sides of your container with a mallet to get ride of air bubbles.
8.) When you are finished shaping your container, wrap the entire project in plastic to keep in the moisture. Let your project harden for two days. Then, carefully remove the cured planter from your mold.
9.) Set the planter in a dry place for 3 weeks to finish drying.
10.) Leach the dried planter by leaving it out in the rain, or continually filling it with water for a day or two. This will ensure that your plants are not damaged by the lime content in your pot.
11.) Your pot will be dark at first, but as it sits out it will weather take on a lighter shade.
The ingredients to complete this project cost me about $20, and included enough material to make 5 medium sized pots. That works out to $4 per durable, stone like, unique, and totally home made Pot!



1 comment
Genius! And so gorgeous. I’m going to try and make some this summer for sure!