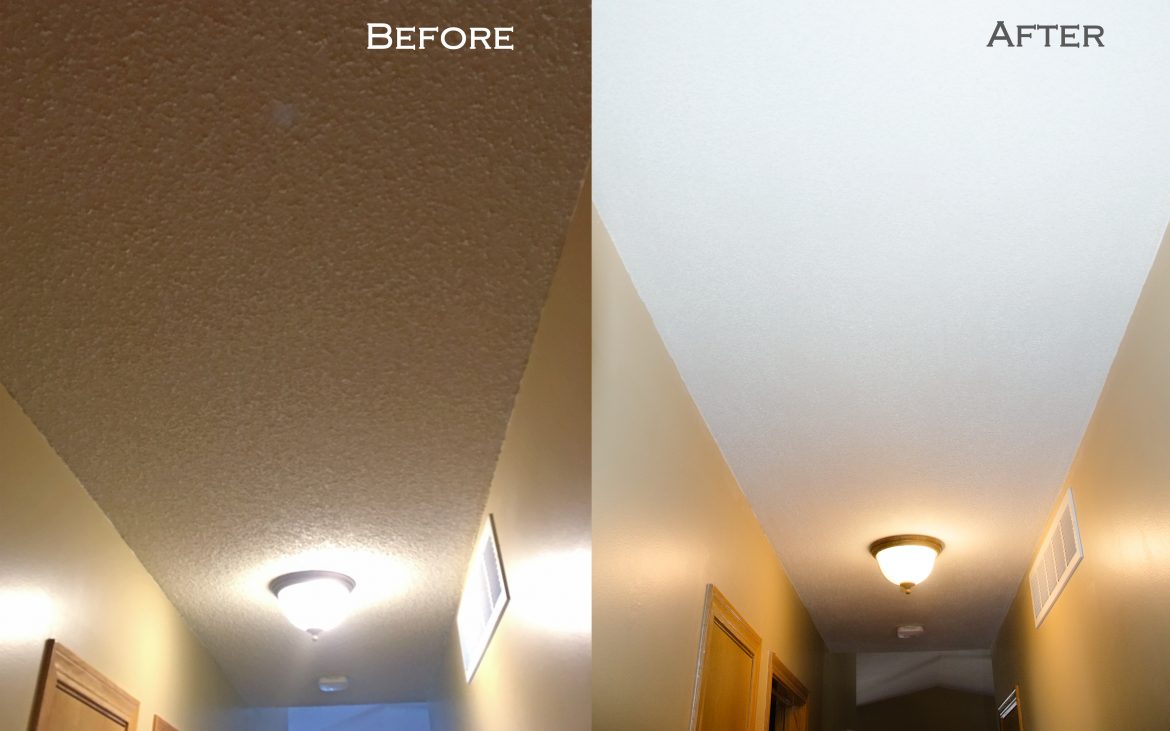
Years ago we bought a house that had been smoked in. The popcorn ceilings had soaked up almost a decade of nicotine and had to be revamped. Before we moved into the house we decided to remove the popcorn and refinish the ceilings. This involved wetting the popcorn texture and scraping it off. Since the homes carpet had been removed, the giant muddy mess this made was not really a big deal. Once the ceilings had been scraped, we had to have a drywall finisher fix all the imperfections and add a knock down texture. We then painted the whole ceiling. It was a HUGE project, and it cost several hundred dollars to complete.
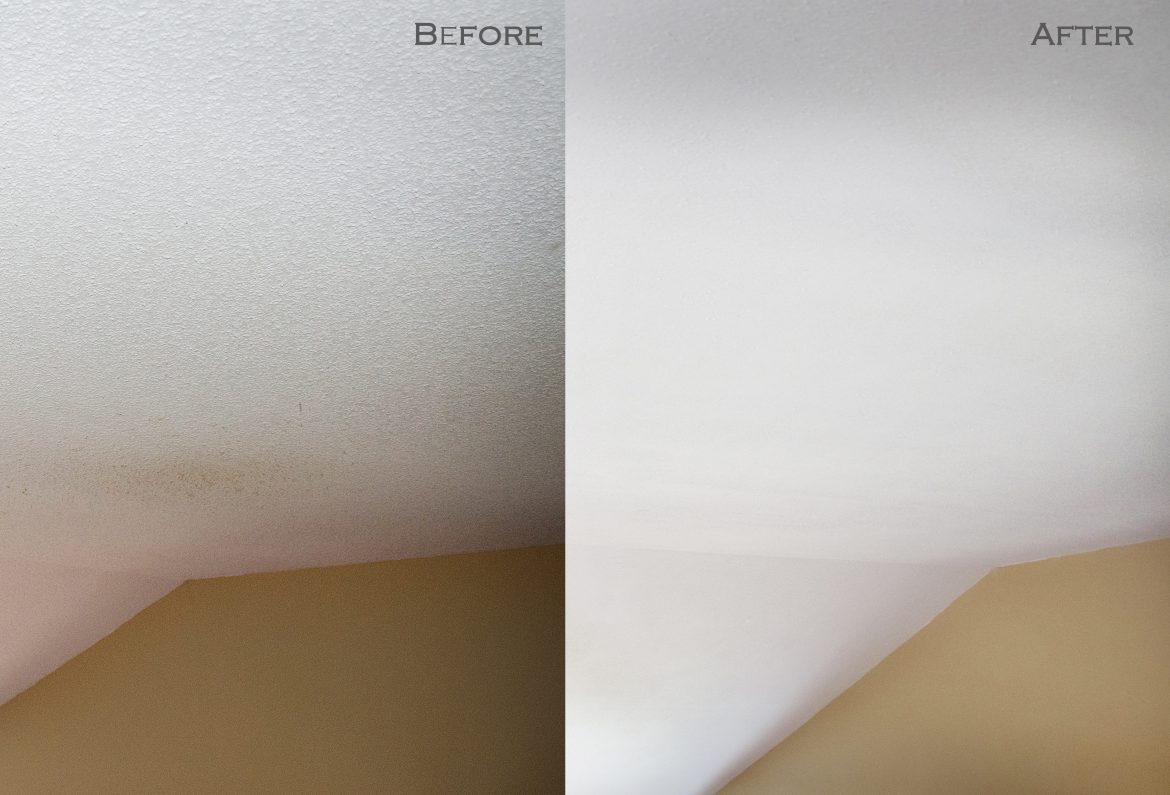
When we moved into our current house we decided to live with the popcorn textured ceilings. They were not in terrible shape, and although we didn’t like the look, it was tolerable. However, after living in our house for ten years, the ceilings were starting to show signs of wear. They were dingy and there were patches of dirt and grime above the kitchen, as seen below.
Refinishing the ceilings as we had in our previous house was not an option. All that wet drywall falling into our carpet and furniture would have spelled disaster. One day, I was watching a home improvement show when the solution to our problem appeared. The host of the show suggested that the home owner DRY SCRAPE their popcorn ceilings to remove the texture. “Wait…what? Did I hear correctly! Could this work for us?” We purchased a $3 drywall knife, and tried it out in our bathroom. There was a learning curve, but we found that dry scraping was fairly simple to execute and clean up. We decided to tackle the rest of our house. Safety goggles and a mask were essential!
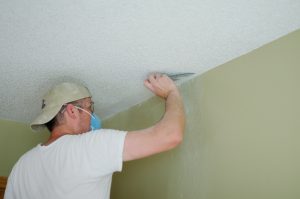
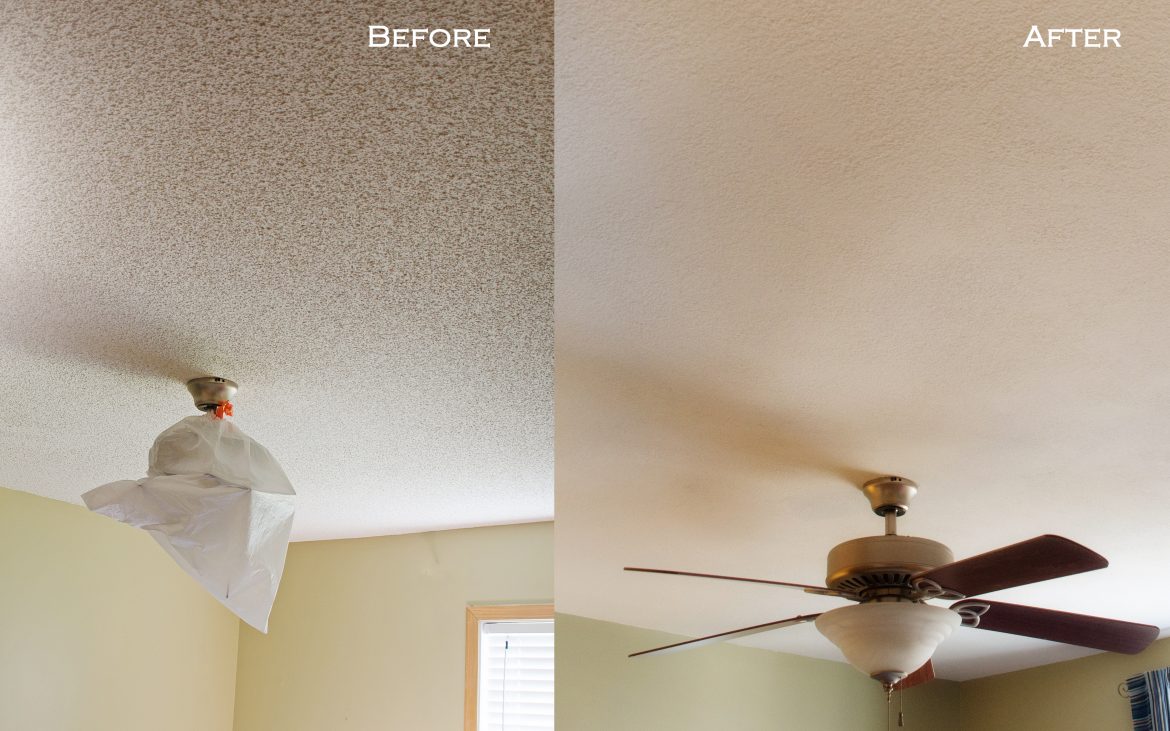
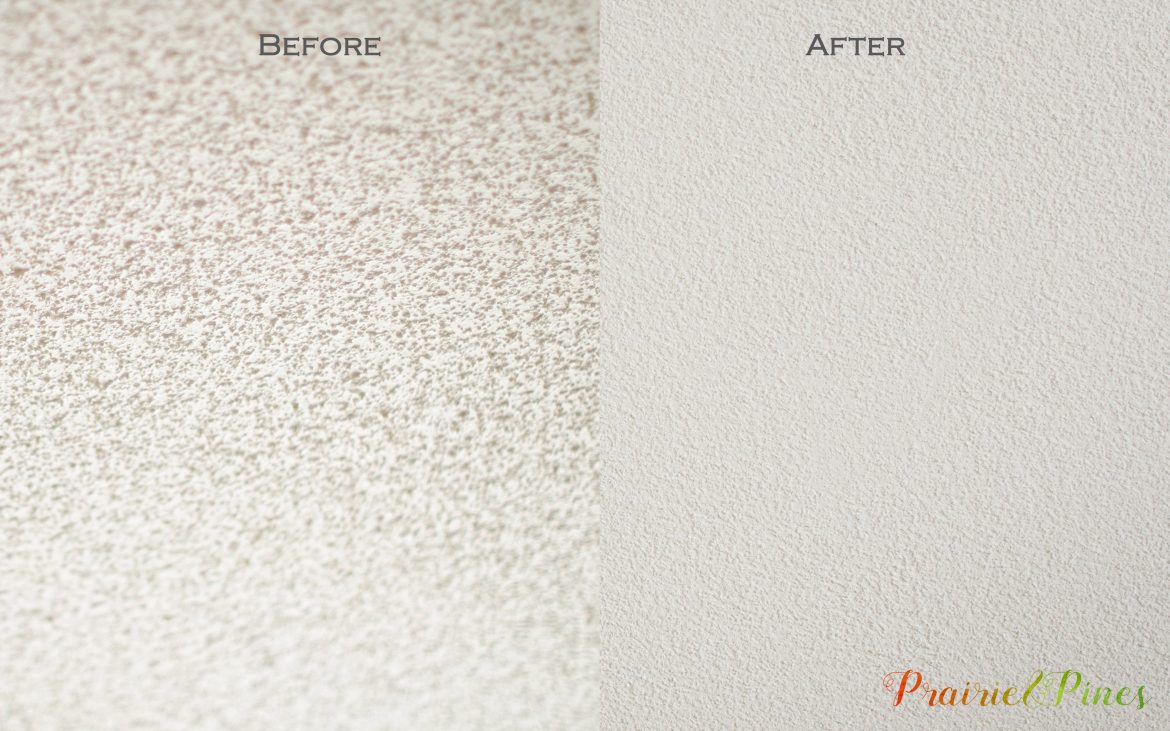
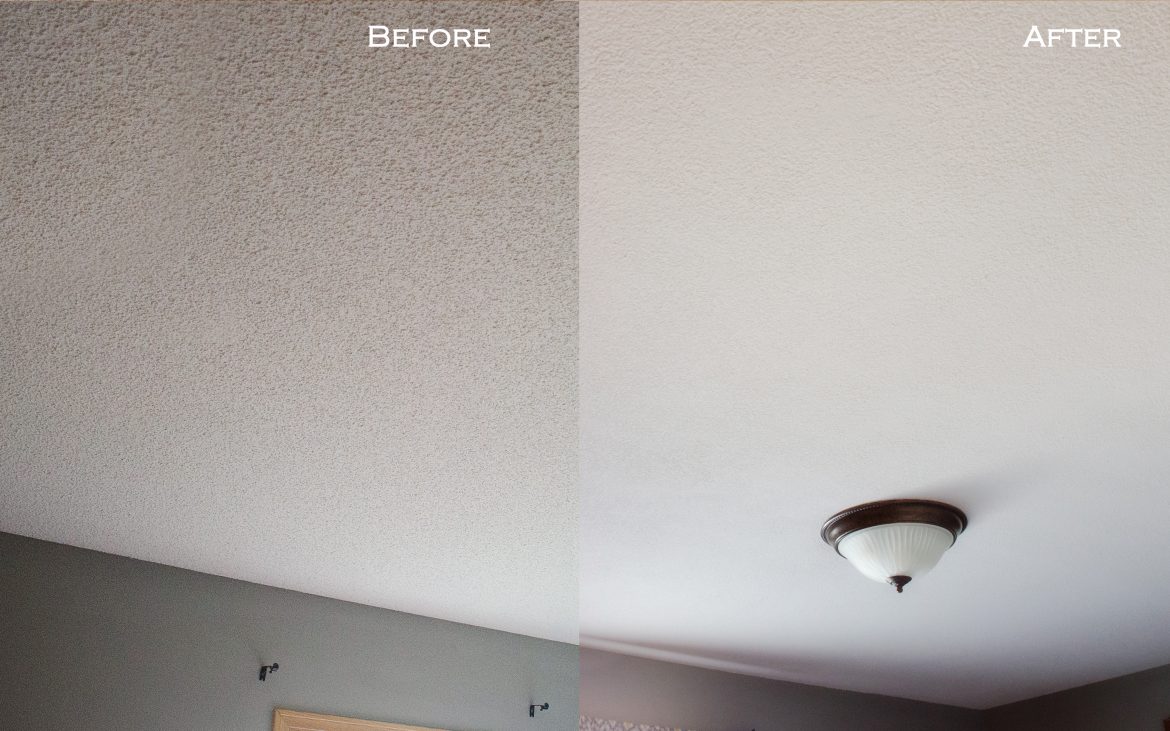
My amazing husband did all the back breaking scraping, and I did the cleaning up. Both tasks were no fun, but I think cleaning up was much easier than scraping. First we covered our floors and furniture with plastic tarps. We removed the light fixtures so that we could scrape underneath them. The fan blades were removed from the ceiling fans. Next my husband used the drywall knife to scrape the top layer of texture off of the ceiling. The trick with this is do not scrape too deep. If you scrape too much texture off you will be left with gashes in your ceiling. We found that if you lightly scraped the top layer of popcorn off, it left a crisp white ceiling with a very light popcorn texture that resembled orange peel. We started in the corner and worked our way out towards the middle of the room. The popcorn that sticks to the corners can be removed by running the drywall knife in a straight line against the wall.
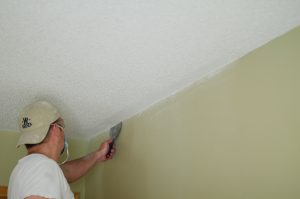
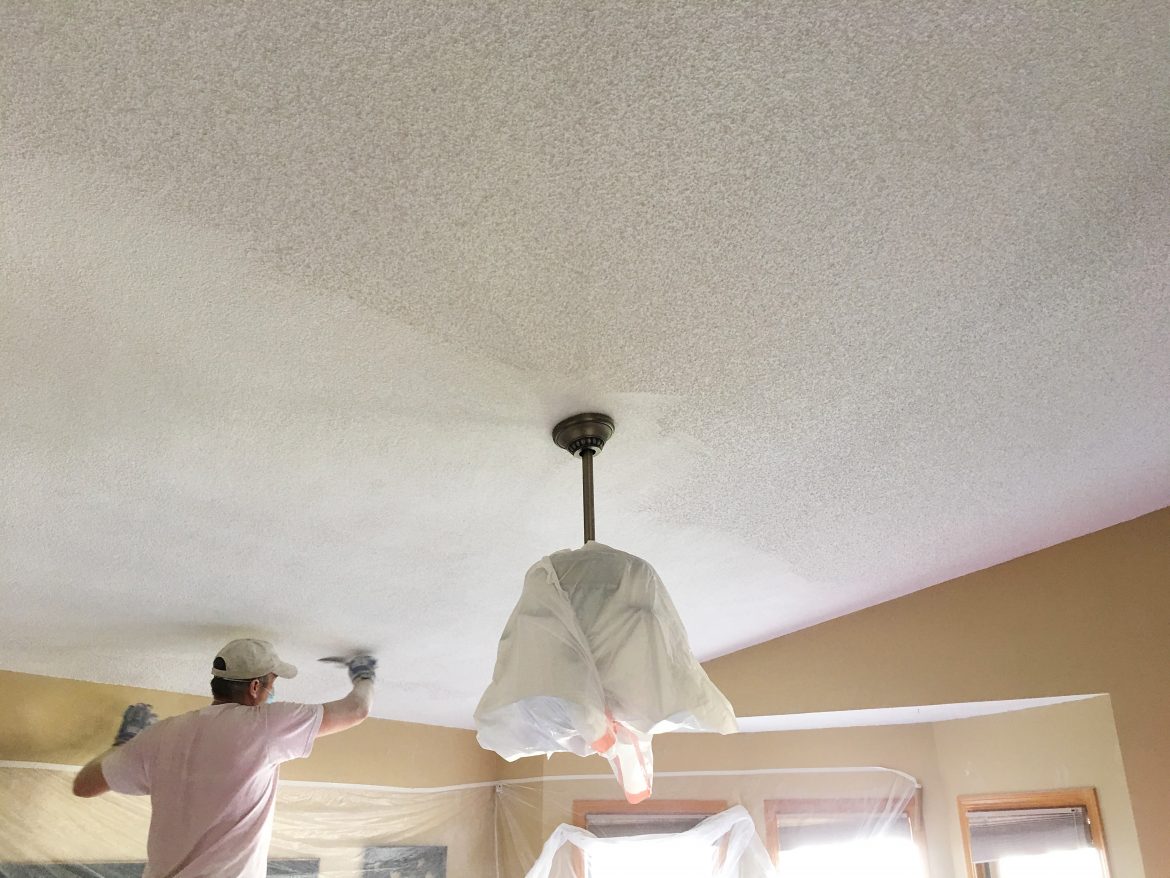
In the picture below you can see the drastic difference between the ceiling section on the left that had been scraped and the section on the right that had not. We realized that our house felt brighter and even bigger with less texture on the ceilings.
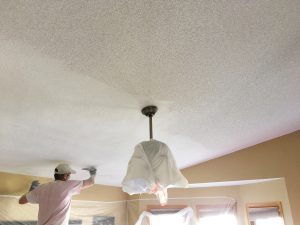
As you can imagine, all this scraping made a colossal mess. The advantage to DRY Scraping your ceiling is that although it is dusty, it is much easier to clean up than wet drywall because it doesn’t stick to anything.
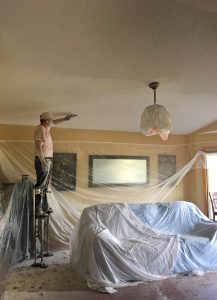
We started working on this project while the kids were at school. When they came home I had the camera ready to snap a picture of their reaction to the giant mess. They were quite worried about the state of our living room….
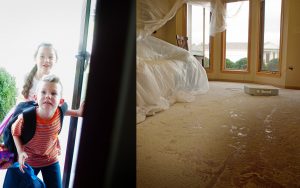
Those frowns were turned upside down when they saw their dad, covered in dust, atop a pair of dry wall stilts. My son exclaimed with glee, “Daddy, you look like Chip Gaines!” (Yes, my kids love watching Fixer Upper almost as much as I do.)
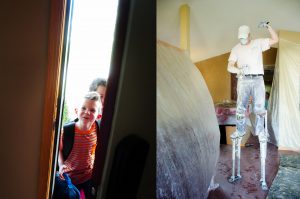
Once all the texture had been scraped off, I got to work with cleaning. With a Shopvac and brush attachment I vacuumed and brushed down the ceilings. This helped remove the remaining loose pieces of drywall and also helped bring down the dust. I rolled up and threw away all the disposable plastic tarps. My Shop Vac was a trouper. I had to empty it frequently, but it sucked up all that mess beautifully. The cleaning process was daunting, and our house was dusty for a week or two after the project was completed.
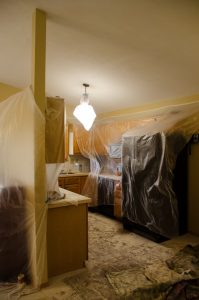
There were a few spots on the ceiling that did not look even. This was probably from scraping too much popcorn off, which left the drywall exposed. I used a small artists paint brush to dab premixed drywall mud over these spots. After drying, these spots blended in well with the rest of the ceiling. We decided not to paint our ceilings because we were happy with them as is. I think that painting after you scrape could further even out any imperfections that may appear in your ceiling from scraping.
In the end we were ecstatic with the way this project turned out. Our total investment was only $10. It took about 3 days to completely scrape, clean, and touch up about 1200 square feet of popcorn ceilings. I still can not believe how much brighter our house is. The before pictures in this post are not enhanced or exaggerated, the previous popcorn ceiling was so textured and dingy that it created a dark shadow over our whole house.
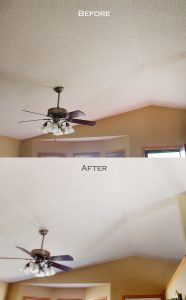
$10 Popcorn Ceiling Makeover Budget Breakdown:
1 Wide tipped drywall knife – $4 (from discount hardware store)
1 Package of Disposable Painters Tarps – -$6 (From Aldi)
Time Invested: 3 Days
This project was one of my favorite D.I.Y’s to date. Hopefully it gave you an idea of how little it costs to make staggering changes to your home. Are you inspired to give it a try?


