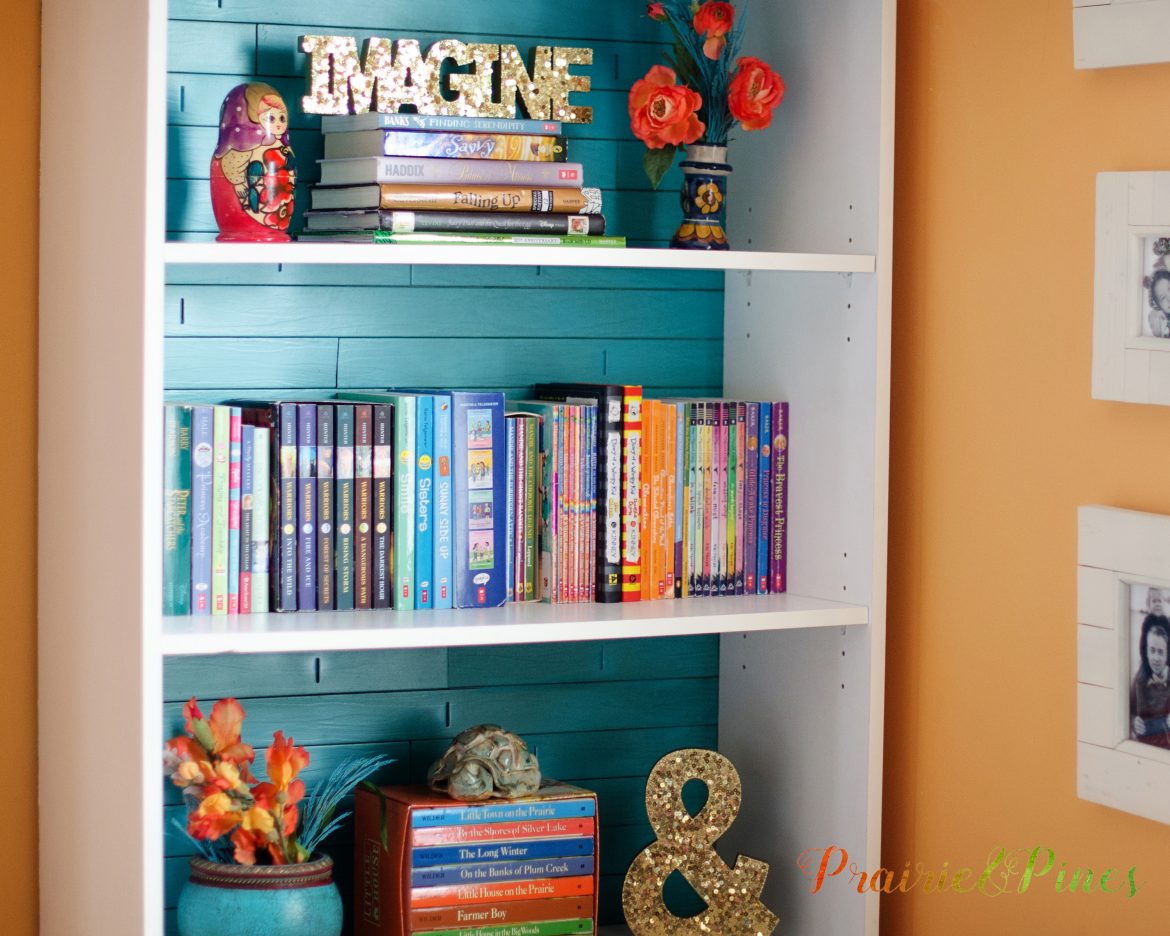
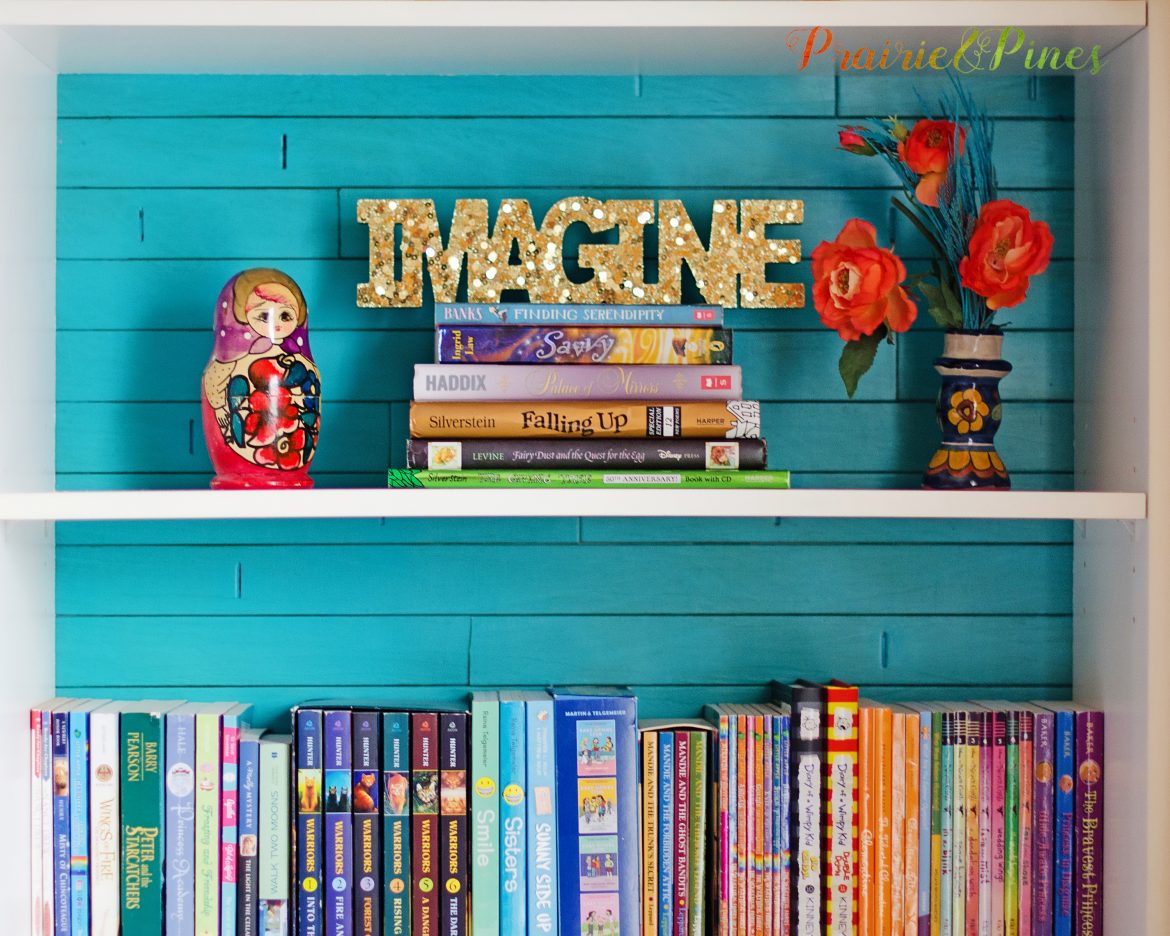
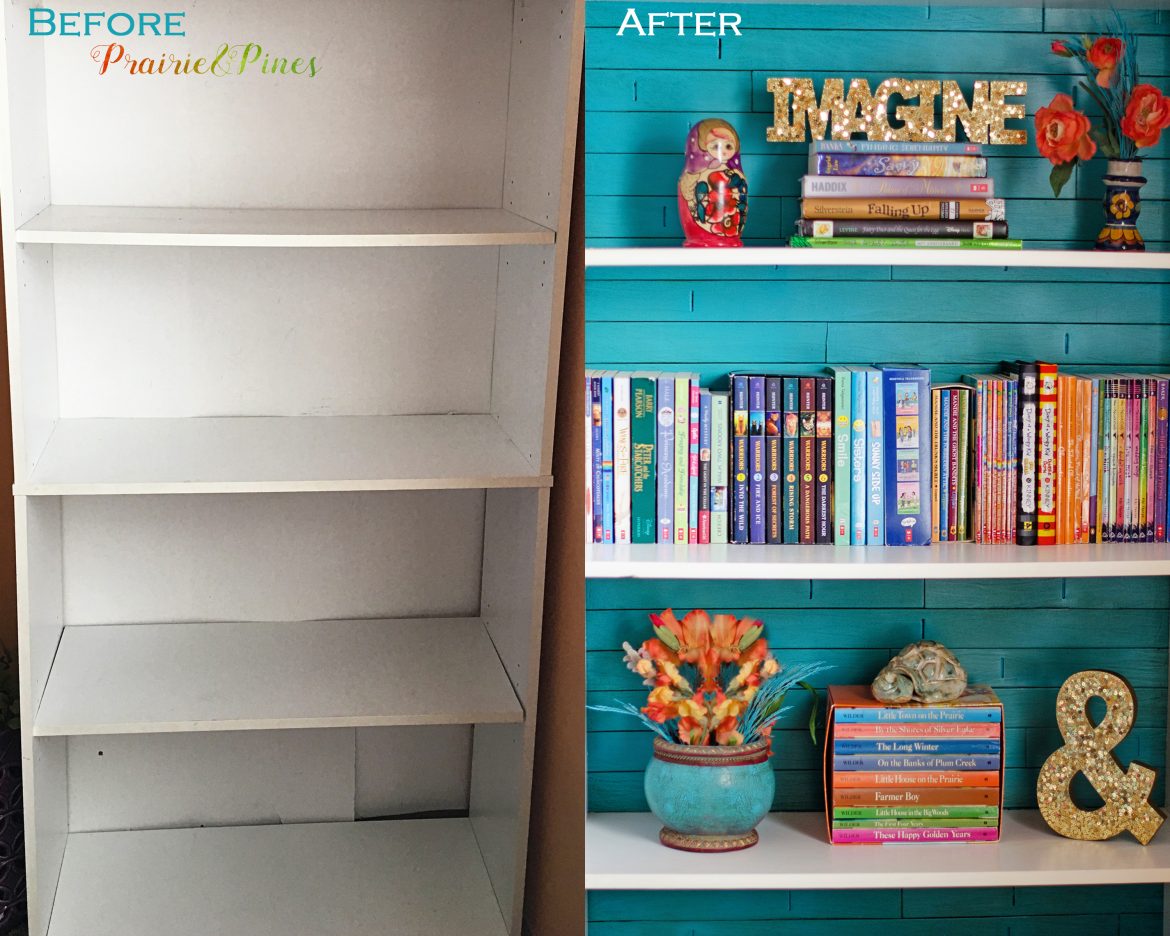
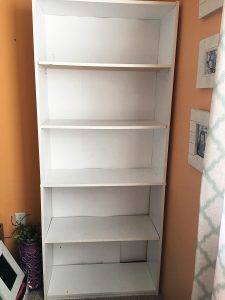
Embarrassing. Cluttered. Junky. Broken. Cheap. All these words could describe the crowded $25 Walmart bookshelf that filled the corner of my daughters room. 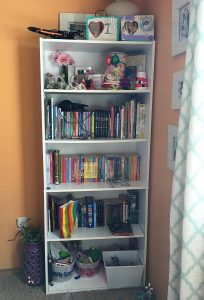 Last week during a beautiful and warm spring break day, I set to work on a solution. I started by throwing out, donating, or relocating everything that does not normally belong on a bookshelf. Since the back of the bookshelf was ripped and broken, I had to create a new backdrop for the shelf. I found some old white Faux Wood Blind slats in my shed, and decided to incorporate them into my project.
Here is the tutorial on how to create a beautiful wooden backdrop out of old blinds…
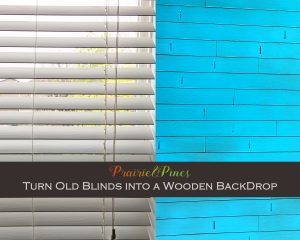
Materials You Will Need
- An old Faux Wood Blind (or some loose wood blind slats)
- A Piece of chip board or Heavy Card Board to glue your Blinds to
- Sharpie Pen
- A Jig Saw, or small hand saw
- Glue Gun & Hot Glue Sticks
- Spray Paint (optional)
- Decorative Glaze (optional)
How to Turn Old Blinds into a Wooden Backdrop
1.) Cut the cords on the blinds to remove the slats.
2.) Find a large flat work space. Cut the backing to fit your needs. In my project I used the existing bookshelf backing, so it was already cut to size.
3.) You will need to cut different lengths of the blinds for a staggered wood floor look. I started by cutting a piece of blind that reached about 3/4 of the way across my bookshelf back. Use a flat edge and a sharpie to draw straight lines where you to want make your cuts.
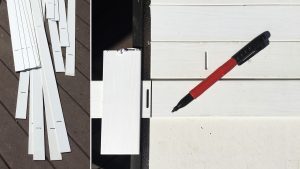
4.) Cut your first piece along the marked line using a jigsaw or small hand saw. Glue it onto the top left hand corner of your backing piece with the hot glue gun. You will need to use good quality glue and set your gun on high. Glue the blind so that the factory edge of the blind is the part that shows. The jigsaw cut side of your blinds will be on the outer edge of the backing, out of sight.
 5.) Keep marking, cutting and gluing pieces onto your backing. Stagger the holes that the blind cord goes through so that they are spread evenly throughout the project. Try to make all of your cuts at varying lengths to imitate a staggered wood floor pattern.
6.) Once you are finished gluing the blinds onto your backing, trim any overhanging pieces and wipe down the whole project to remove any dust and debris before painting.
7.) Paint your project with thin coats of spray paint until it is completely covered. Make sure you get the paint to go into the blind holes and cracks. I used Rust-oleum Ultra Cover Spray paint that also bonds to plastic, I highly recommend using this brand. 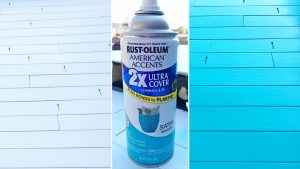
8.) Once your paint is completely dry, paint a layer of brown decorative glaze over the entire project.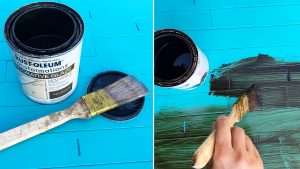
9.) Using a large rag, wipe most of your glaze off, it will stick in the cracks and crevices and highlight the wood grain.
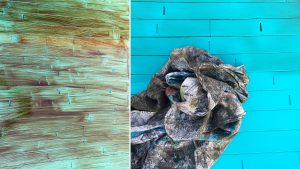
10.) Let your backing dry completely before attaching it back to your bookshelf.
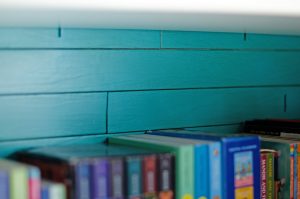
Book Shelf Redo Budget Break Down
- Old Bookshelf – Free
- Old Blinds – Free
- Can of Spray Paint – $4
- Left over Decorative Glaze from another project – Free
- 5 Hot Glue Sticks -$1
- Total for the Whole Project – 5 Bucks well spent!
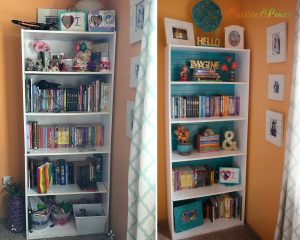
So the moral of the story is, don’t throw away those extra faux wood blind slats or old faux wood blinds, they could become part of a beautiful recycled project in your home!
![]()

