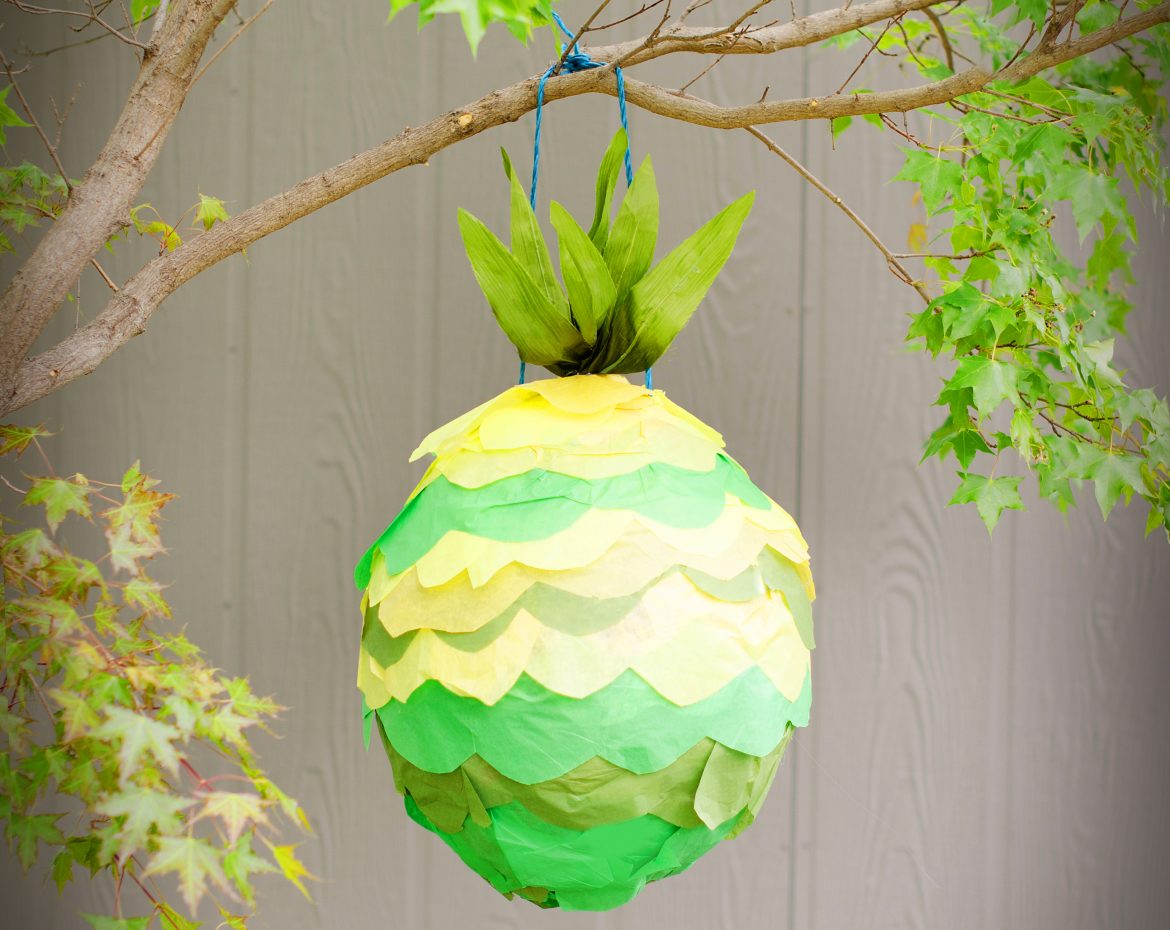
After watching Moana, my 8 year old daughter was desperate to visit Hawaii. I couldn’t really argue with her logic. The gorgeous tropical islands portrayed in the Disney blockbuster also had me dying to travel. Since taking our family to Hawaii didn’t exactly fit the budget, we settled on making her 9th Birthday into a Hawaiian Luau. Even though Pinata’s are not traditionally found at a Luau, I thought it would be a fun way for the kids to get outside and get some energy out. I decided to make my own pinata because most pinatas you can buy at the store are shaped like a donkey and cost an arm and a leg. I made this Pineapple Pinata out of a flour based paper mache glue and old newspapers and magazines. The kids were even able to help out with the pinata making process, which made it more exciting in the end. Here is the tutorial on how to make a Pineapple Pinata for your Hawaiian Luau Party.
Supplies you will need:
- 1 Large punch ball Balloon (3 for $1 at Dollar Tree)
- Old Magazines or News Papers
- 1 Large strong Rubber Band, 1 small rubber band
- Duct Tape
- Tissue Paper and Hot Glue
- Rope
- Greenery for the Pineapple Spike
- White flour
- Salt
- Water
- Time! It takes about 5 days to complete this project because you have to wait for each layer to dry!
How to make a Pineapple Piñata
1.) Cut up a few magazines or old newspapers into 2 inch wide strips. If you have a paper cutter, use it, it will save you tons of time!! You will need to cover your pinata in about 5 layers of paper, so bear this in mind when cutting up strips.
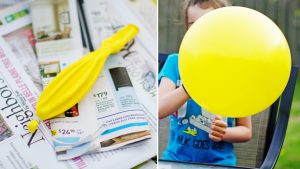
2.) Take the rubber band off the end of your punch balloon. Blow the balloon up and secure the end. Quick Tip: Don’t over fill balloon with air. You want your balloon to be large but also sturdy. For a smaller piñata, fill the balloon with less air.
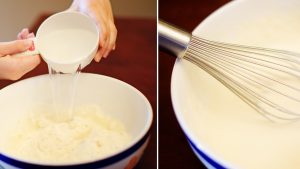
3.) Make Your Paper Mache “Glue”: Whisk together one cup of flour, one cup of water, and one teaspoon of salt until smooth. If your mix seems too thick, add a little more water. You want it to be about the consistency of a good chowder soup.
4.) Wearing gloves, dip a paper strip into the flour glue and swipe your fingers down the strip to remove excess glue. Lay the strip on to your balloon and smooth out any wrinkles. You want both sides of your paper to be wet! Leave the stem of the balloon sticking out, this will be how you hang it up to dry.
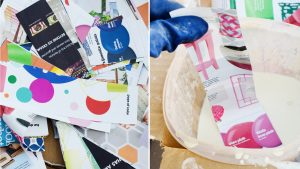
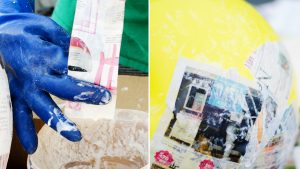
5.) Continue gluing pieces of paper onto the balloon until the whole balloon is covered. It is best to apply the paper in an overlapping criss-cross pattern. Do not add more than one layer of paper at a time.
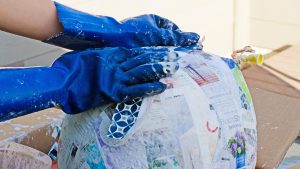
6.) Attach a strong rubber band to the balloon stem and hang your piñata up to dry. It usually takes about 24 hours for each layer to dry. Important : Make sure you let each layer of paper dry completely before adding the next layer.
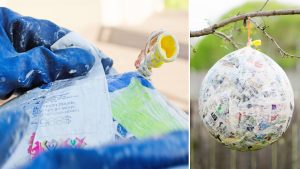
7.) Your piñata will need about 5 layers to be strong enough to hold up to the beatings. Continue making glue and adding layers, being careful to cover the entire surface each time. Remember to let each layer dry before adding the next layer! * Magazines are a lot thicker and sturdier than newspaper. If you are using newspaper I would add a couple of extra layers to be safe.
8.) Once your final layer is completely dry, cut a small hole in the balloon stem to deflate your balloon.
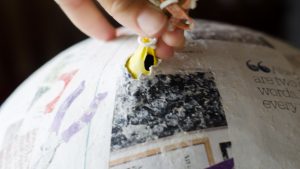
9.) Cut a 3 by 3 inch flap in the bottom of your pinata. (the end opposite to the balloon stem). Remove the deflated balloon.
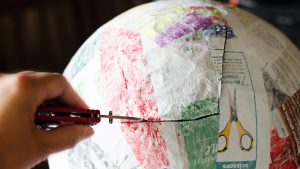
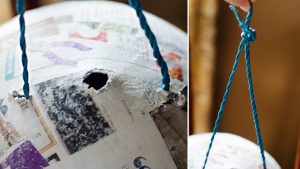
10.) Cut two small slits on either side of the balloon stem hole. Insert the rope down through one hole, and then up and out of the other hole. You will need to put your hand into the flap to feed the rope through the other side. Tie your rope in a secure knot.
11.) Fill your Pinata with candy and small prizes.
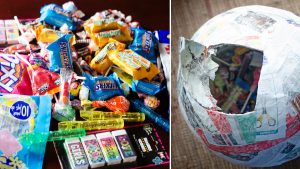
12.) Use lots of duct tape to seal the flap shut and reinforce the holes that the rope goes through. Make sure that you do not skimp on tape here, the more securely you seal the pinata the better it will hold up.
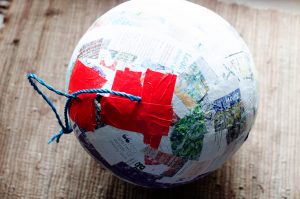
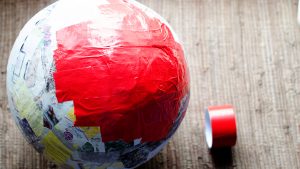
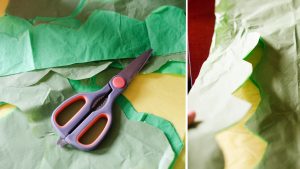
13.) Cut 4 in thick strips of dark green, light green, dark yellow and light yellow tissue paper length wise with a scalloped edge.
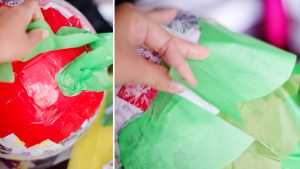
14.) Using a hot glue gun, glue strips of tissue paper onto your pinata in alternating colors until it is completely covered. Start at the bottom and work your way up. Try and overlap strips by about two inches. Leave the balloon stem hole uncovered.
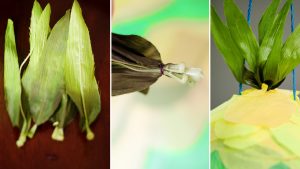
15.) Group your greenery together with a small rubber band. Glue the greenery into the balloon stem hole at the top of your pinata. Glue tissue paper around the hole and rope to cover any remaining paper mache that is sticking out.
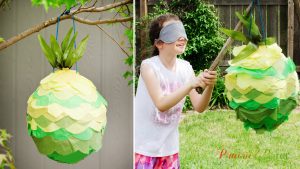
16.) Your Pinata is done, and ready to be demolished by eager party attendees. The kids at our Luau were really fascinated with the pineapple pinata. We used it as a centerpiece on the table for the duration of the party. This helped build their anticipation, and also helped me feel less sad about smashing all of my hard work. The kids really had a blast taking turns hitting it, and the birthday girl was pleased to be the one to break it open in the end.
I would love to see some of our readers try out this technique! Please post pictures if you have them. Stay tuned for my next installment the blog: How to throw a bomb.com Luau Party for under $50!


